Gary Delabate’s legendary $1.5 million home theater has become the gold standard for what’s possible when passion meets design. If you’ve seen photos of his massive 30-foot screen, premium sound system, and meticulously controlled environment, you might think building a serious home theater is out of reach. The truth? You don’t need a seven-figure budget to capture the essence of what makes Delabate’s setup legendary. This guide walks you through the key decisions, audio, video, layout, and acoustics, so you can build a home theater that delivers that premium experience on a realistic budget. Whether you’re converting a basement, spare room, or garage, the principles remain the same: thoughtful equipment selection, smart spatial planning, and honest sweat equity.
Table of Contents
ToggleKey Takeaways
- Gary Delabate’s $1.5 million home theater prioritizes a complete immersive environment with premium audio, thoughtful spatial design, and acoustic treatment—principles you can apply on a realistic budget.
- Audio quality matters more than display technology; a modest projector in a well-treated room with proper speaker configuration outperforms expensive displays in untreated spaces.
- A proper 5-channel audio system (center, left, right, surround speakers, and subwoofer) handling 60-70% of dialogue at the center channel is essential for professional-quality sound.
- Acoustic treatment and room geometry are critical; focus on first reflection points, rear bass traps, and maintaining a rectangular layout (1.5–2× longer than wide) to prevent dead zones and standing waves.
- Prioritize paint, acoustic panels, and used quality equipment over luxury materials; proper calibration and strategic cable management complete a professional home theater at a fraction of Delabate’s investment.
Who Is Gary Delabate and Why His Home Theater Matters
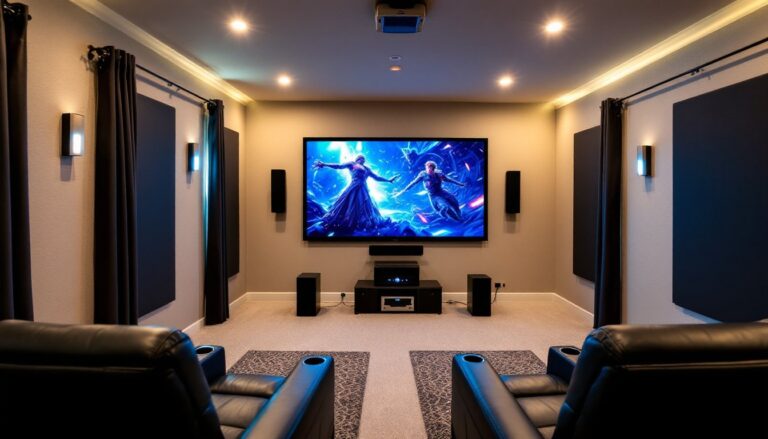
Gary Delabate, a radio personality best known for his work on The Howard Stern Show, invested heavily in creating one of the most talked-about home theaters in the entertainment world. His setup represents not just a display and speakers, but a complete immersive environment, climate control, perfect lighting, acoustic treatment, and seating designed for hours-long viewing comfort.
What makes Delabate’s theater compelling isn’t just the price tag: it’s the philosophy behind it. He prioritized multiple systems working in harmony: a massive projection screen, a calibrated surround sound system, properly treated walls for audio clarity, and thoughtful seating layout. Gary DeLaBat’s $1.5 million home theater showcases how premium equipment, architectural planning, and acoustic design create an environment where every film, game, or sporting event feels like it was meant to be experienced there.
For DIY enthusiasts, the lesson isn’t “spend $1.5 million.” It’s “understand the hierarchy of importance.” Great sound matters more than you might think. Proper room layout saves you from dead zones and echo. Acoustic treatment doesn’t require luxury materials, it requires the right approach. By studying what professionals build, you can extract the principles and apply them at a fraction of the cost.
Essential Equipment for a Gary Delabate-Inspired Home Theater
Before you buy anything, understand the core hierarchy: sound matters more than most DIYers realize, and a modest projector in a well-treated room beats an expensive display in an untreated space. The best theater isn’t the loudest or brightest, it’s balanced.
Audio System and Speaker Configuration
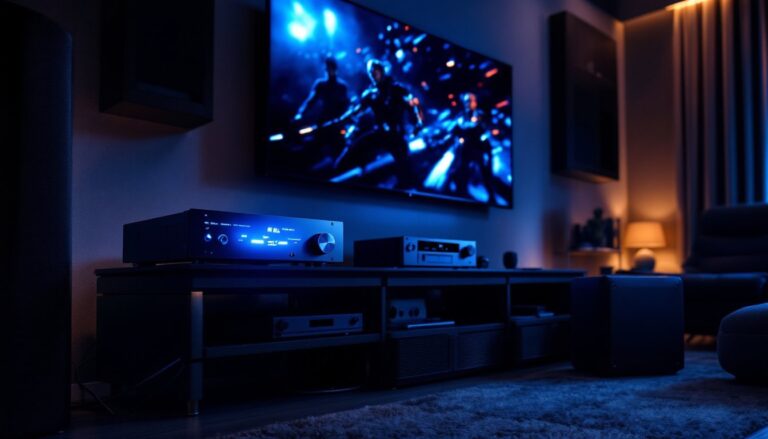
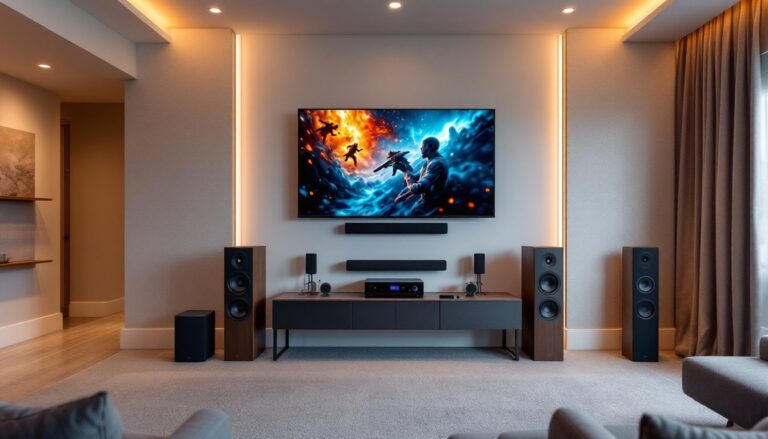
A home theater audio system needs five channels minimum: center, left, right, surrounds, and a subwoofer. The center channel (mounted at ear level on or above your screen) handles 60-70% of dialogue and on-screen action, so don’t cheap out here. Mid-range center speakers from brands like Klipsch, Yamaha, or Polk ($200–$400) outperform cheap all-in-one soundbars.
Left and right speakers flank the screen at roughly ear level when seated. They handle ambient sound and music. A matched receiver (Denon, Yamaha, Onkyo, $300–$600) processes audio from your sources and powers the speakers. It should support Dolby Atmos or at least DTS:X if you want height channels, those overhead speakers add a spatial dimension that standard 5.1 can’t touch.
The subwoofer is non-negotiable. A good 10- to 12-inch powered sub ($300–$600) handling 20–150 Hz transforms dialogue clarity and adds impact to explosions without overpowering the room. Place it in a corner to maximize bass response, but experiment, sometimes a side wall works better depending on your room’s standing waves.
Surround speakers go to the sides or rear, 1–2 feet above seated ear level. They shouldn’t dominate: their job is ambience and occasional directional effects. Budget $150–$300 per pair.
Display Technology and Screen Selection
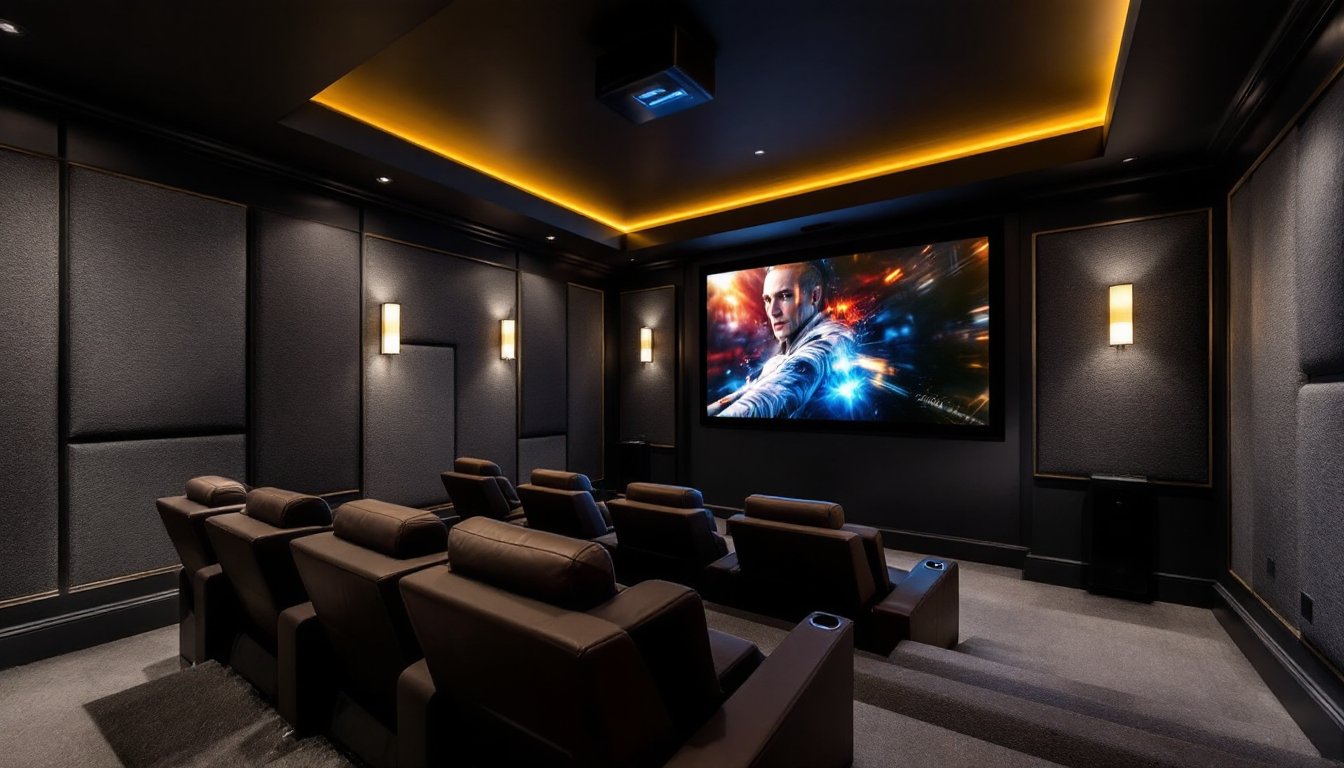
This $1.5 million home theater uses a massive fixed projection screen, which is the gold standard for serious installations. A projector requires a dark room and a quality screen material: cheap screens wash out color and create hot spots where the center appears brighter than the edges.
For a DIY projector setup, measure your throw distance (distance from projector to screen) and calculate the proper lens. A 4K projector ($1,000–$2,500) paired with a 1.3 gain projection screen ($500–$1,500 for 100–120 inches) gives you cinema-quality visuals. The 1.3 gain means the screen reflects 30% more light than a perfect white surface, enough to brighten the image without introducing hot spotting.
If a projector doesn’t fit your space, a 65–75 inch OLED TV ($1,500–$3,000) in a dark room comes surprisingly close. OLED blacks are perfect because pixels turn completely off, and contrast is exceptional.
Prep matters enormously. Paint your walls a dark, neutral color (not black, matte dark gray or charcoal reduces glare while avoiding a cave-like feel). Avoid windows or install blackout shades: ambient light kills any display’s impact.
Designing Your Space: Layout and Acoustics
Room geometry dictates sound behavior. A rectangular space (roughly 1.5× to 2× longer than it is wide) performs better acoustically than a square room, where standing waves, areas of reinforced or cancelled bass, cluster in predictable spots. If you’re starting from scratch, prioritize this when choosing your room.
Measure your space and lay out seating so your screen subtends a 30–40 degree viewing angle. That means if you’re sitting 10 feet from a 100-inch screen, the screen fills your peripheral vision without requiring constant head movement. Mark your seat positions and measure distances: this informs speaker placement.
Acoustic treatment prevents reflections from hard walls from muddying your audio. You don’t need expensive panels everywhere, focus on first reflection points. Sit in your main seat, hold a mirror against the side wall, and move it until you see the speaker in the mirror. That’s a first reflection point: treat it. Use acoustic foam panels (2–4 inches thick, $30–$80 each) or better yet, rigid fiberglass panels ($50–$150) wrapped in fabric. Install them 4–8 inches away from the wall for better absorption.
The rear wall benefits from bass traps (thicker, deeper absorption) in corners. Bass doesn’t radiate in a straight line: it bounces everywhere, so corner treatment makes a huge difference. A DIY bass trap can be built with 2×4 studs, fiberglass insulation, and fabric, total cost roughly $50–$100 per corner.
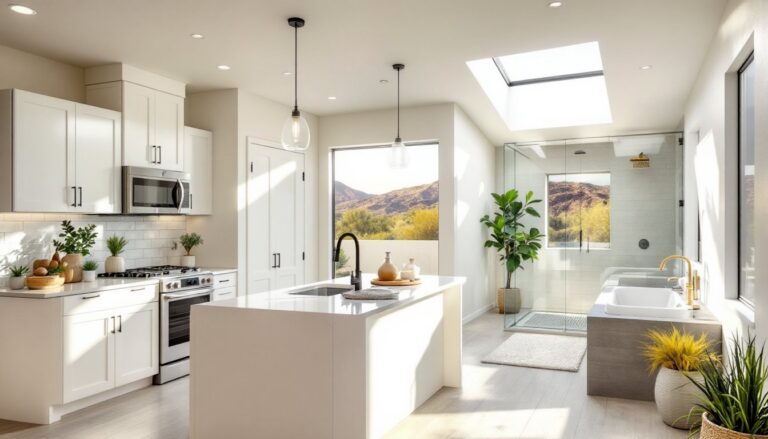
Don’t over-treat. A room that’s too dead sounds like a recording studio, not a theater. Aim for 20–30% of wall surface covered with absorption. Hard floors need area rugs: thick carpeting or padded carpet with underlayment absorbs midrange and treble well. Leave some reflective surfaces so voices and music don’t sound flat. Dwell covers modern design principles that apply here, balanced, thoughtful, and functional. Treat your room like a design project, not just a sound lab.
Budget-Friendly Tips for DIY Home Theater Installation
Start with audio, not video. Ninety percent of impact comes from great sound: visuals are secondary. A $1,500 audio setup in a treated room beats a $3,000 TV in an untreated one.
Buy used gear from reputable sellers. A five-year-old Yamaha or Denon receiver from Craigslist or Facebook Marketplace often has decades of life left and costs 40–50% less. Speakers age well if they haven’t been abused. Inspect for physical damage and test them before buying.
Skip the in-wall speaker wire. A quality 10 AWG stranded copper wire ($0.50–$1.00/foot) routed along baseboards in conduit ($0.20/foot) costs a fraction of premium Walmart wire and performs identically.
Paint and absorption first, gear second. Spend $200–$300 on dark paint and DIY foam panels before dropping $2,000 on speakers. A properly treated small room sounds better than a treated large room with cheap equipment.
Cable management matters psychologically, not sonically. A $30 power conditioner and surge protector, neatly bundled cables, and a hidden receiver cabinet make the space feel professional and reduce troubleshooting headaches later.
Calibrate your system. Most AV receivers include a calibration microphone. Use it. Calibration takes 20 minutes and trims peaks and valleys in your frequency response, making everything sound clearer. If your receiver lacks this, apps like REW (free) combined with a used calibration mic ($40–$80) do the job.
Final tip: plan for expansion. Run extra conduit and speaker wire now so adding surrounds or height channels later doesn’t require tearing into walls. It’s 10 minutes of extra work during setup and saves hours later.
Conclusion
Building a home theater inspired by Gary Delabate’s legendary setup doesn’t require his budget. It requires priorities: excellent audio, thoughtful spatial design, acoustic treatment, and patient equipment selection. Start with your room, treat it properly, add quality audio, then dial in your display. The result will be a space where you actually want to spend time, and that’s the whole point.