A quality home theater transforms how you experience movies, sports, and gaming from your living room. Kansas City homeowners increasingly recognize the value of turning spare rooms or basements into dedicated entertainment spaces. Whether you’re planning a modest 5.1 surround system in an existing room or gutting a basement for a full cinematic setup, understanding the essentials, from equipment selection to installation logistics, makes the difference between a mediocre setup and one that delivers genuine theater-quality sound and picture. This guide walks you through the planning, component selection, and installation options available in Kansas City today.
Table of Contents
ToggleKey Takeaways
- A quality home theater installation in Kansas City adds property value and creates a controlled entertainment environment that rivals commercial cinemas while eliminating interruptions and overpriced concessions.
- Essential components for any home theater include a display (projector or flat-panel TV), a quality receiver, matched front and surround speakers, a subwoofer, and proper room treatment—with audio being the most commonly overlooked layer in DIY setups.
- Basements are ideal for home theater installation in Kansas City because they offer temperature stability and sound isolation, but light control and proper room dimensions (ideally 12+ feet wide with 8+ feet ceiling height) are critical regardless of location.
- DIY installation works well for mounting displays and positioning speakers, but hybrid approaches—handling layout yourself while hiring licensed electricians for power runs and professionals for acoustic calibration—deliver the best results without excessive costs.
- Budget $2,000–5,000+ for a mid-range home theater installation including equipment and labor, and always prioritize system calibration and proper cable management over cheaper cut-rate services that sacrifice quality.
- Before drywall installation, run PVC conduit (1-inch diameter) from your AV equipment location to all speaker and cable runs to ensure professional organization and future-proof flexibility without visible wires.
Why Invest in a Home Theater System
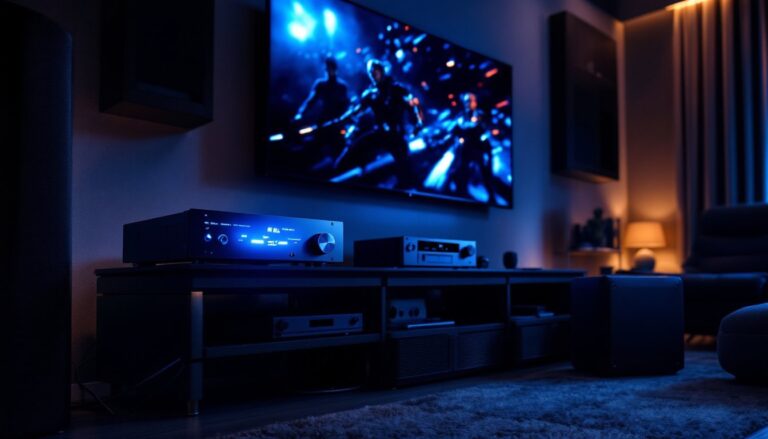
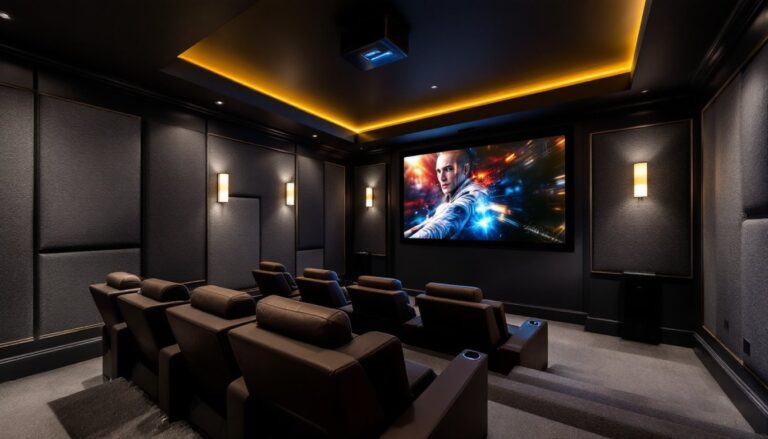
A dedicated home theater isn’t just about watching movies on a bigger screen. It’s about creating a controlled, optimized environment where picture quality, sound isolation, and comfort match what you’d find in a commercial cinema, without leaving home.
Kansas City weather means indoor entertainment has real value, especially during hot summers and cold winters when leaving the house isn’t appealing. A home theater also increases property value. Real estate data shows homes with quality entertainment spaces attract buyers and can command modest premiums, particularly in the Kansas City metro area where family-oriented neighborhoods are competitive.
Beyond resale, the practical benefits are immediate: no interruptions, no overpriced concessions, and full control over the viewing environment. Once built correctly, a home theater becomes one of the most used rooms in the house, and one that pays dividends in daily entertainment and family time.
Essential Components Every Home Theater Needs
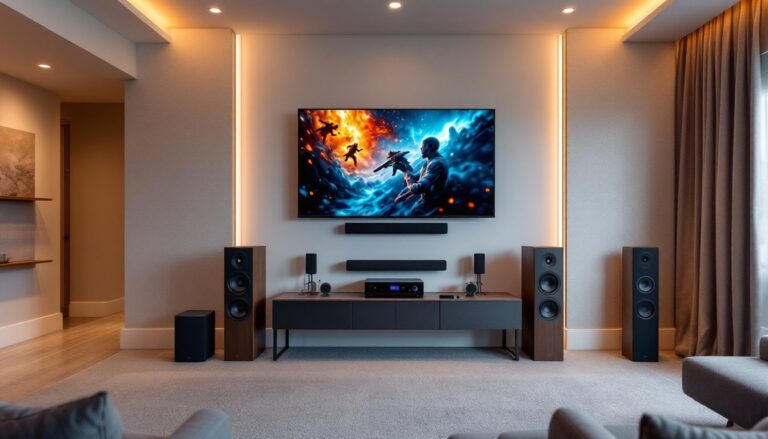
A functional home theater requires four core layers: video display, audio equipment, seating, and room treatment.
Video Display starts with choosing between a projector and a flat-panel TV. Projectors excel in larger spaces (15+ feet from viewer to screen) and deliver true cinema-size images, but they demand light-controlled rooms and regular maintenance. Flat-panel displays (65 inches and up) work better in smaller rooms and multipurpose spaces. Either way, you’ll need a quality receiver that handles 4K/HDR and modern surround formats.
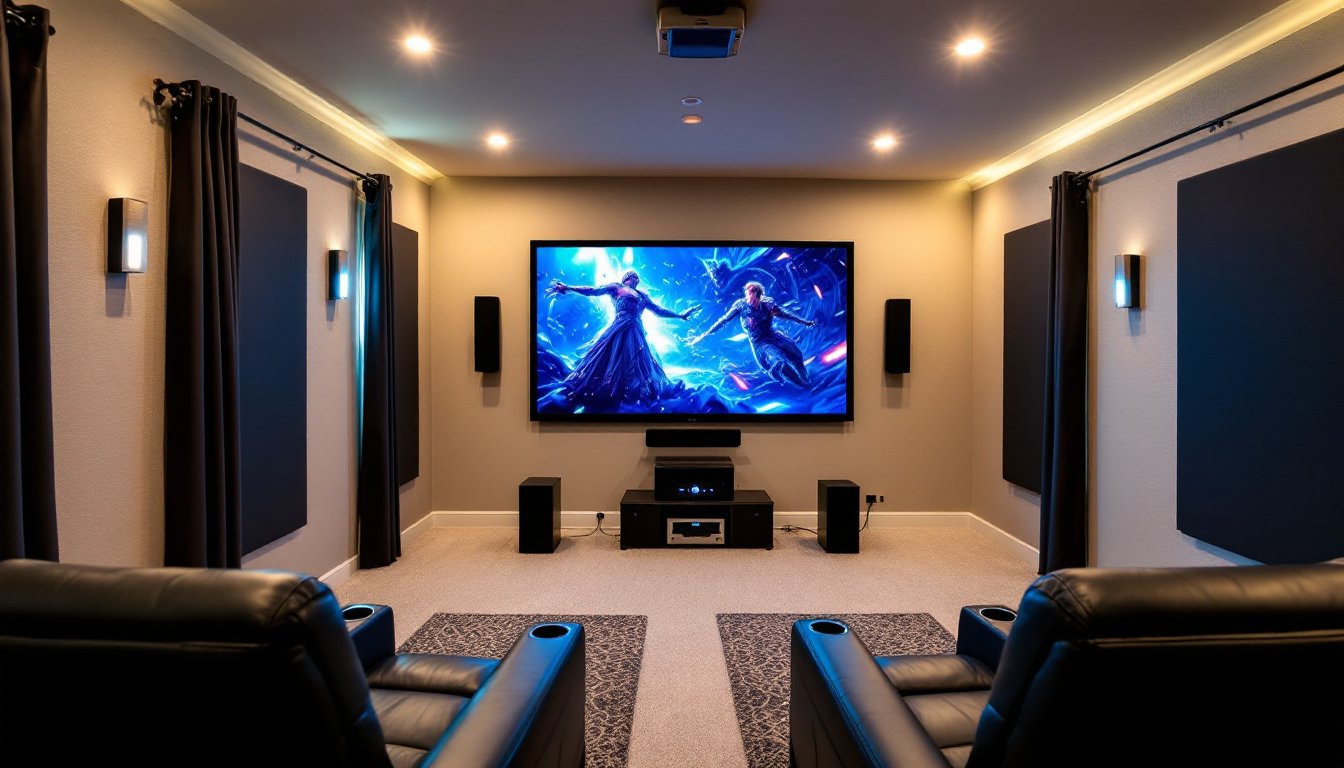
Audio is where most DIY installations fall short. You need at least three front speakers (left, center, right) for dialogue clarity, a subwoofer for bass, and surround speakers placed to the side or rear. The subwoofer is non-negotiable, it handles frequencies below 80 Hz that your mains can’t reproduce cleanly, creating the impact you feel during explosions or music. Budget and space constraints are real, but a mediocre 5.1 system (five speakers plus subwoofer) beats an expensive 2.0 setup every time.
Seating must be comfortable but also support proper sight lines and acoustic placement. Theater-style recliners with cup holders are tempting, but standard seating works fine if positioned correctly, no more than 30 degrees left or right from the center screen, and at distances where you can read credits without neck strain.
Room treatment prevents audio reflections and improves picture clarity. Acoustic panels on walls, bass traps in corners, and heavy curtains or motorized blackout shades are practical additions. You don’t need a silent recording studio, but soft furnishings (couches, rugs, curtains) absorb sound better than bare drywall and glass.
Audio and Visual Equipment Breakdown
Here’s what you’re shopping for:
Receiver (AVR): Central hub handling audio/video switching, amplification, and surround decoding. Expect $400–1,500 depending on power output and features. Mid-range models ($700–1,000) handle 4K, Dolby Atmos, and DTS:X without very costly.
Speakers: Front left and right handle music and ambient sound. Center speaker (critical for dialogue) should match your mains tonally. Surrounds add immersion but are secondary to good front channels. Budget $200–400 for a matched 3-piece set: premium brands run higher.
Subwoofer: The single most impactful upgrade. A quality 10- to 12-inch powered sub ($300–800) transforms bass response. Cheap subs are boomy: decent ones are tight and controlled.
Display: A 4K capable TV (65–85 inches) runs $600–2,000. Projectors start at $800–1,200 for entry-level models: cinema-grade units are $3,000+. Pick based on room size and light control.
Cables and connectivity: Don’t cheap out here. HDMI 2.1 cables support 4K/120Hz for gaming. Budget $100–200 for quality interconnects. Poor cables = picture artifacts and audio dropout.
Choosing the Right Room and Layout
The best home theater room is one you’re willing to dedicate. Basements are popular in Kansas City because they offer temperature stability and isolation, but any room works if it’s dark enough and large enough.
Room size matters. Small rooms (under 12 × 15 feet) work better with flat-panel displays: large rooms justify a projector. Ceiling height should be at least 8 feet, ideally 9+. Odd-shaped rooms with alcoves and angled ceilings are harder to treat acoustically.
Light control is essential. North-facing or basement rooms are ideal. If your room has large windows, commit to motorized blackout shades, they’re pricey ($500–2,000 depending on size) but necessary for projector use and picture quality. Ambient light washes out dark scenes and reduces contrast.
Layout planning prevents costly mistakes. Measure twice: screen height (center at eye level when seated), viewing distance (1.5 to 2.5 times screen width for comfortable viewing angles), and speaker placement (center speaker at ear level behind or above the screen, surrounds 90–110 degrees from center, subs in corners or along walls for even bass distribution).
Run conduit, not loose cables. Before drywall goes up, install PVC or flexible conduit (1-inch diameter) from your AV equipment location to the screen wall and surrounds. This future-proofs the room and keeps cables organized. It’s the difference between a professional install and a rat’s nest of visible wires.
DIY vs. Professional Installation: What Works Best
Many homeowners handle display mounting, speaker placement, and receiver setup themselves. It’s doable, especially if you’re comfortable with basic tools and reading equipment manuals.
DIY makes sense for: Mounting a flat-panel TV, positioning passive speakers, running interconnect cables through existing conduit, and configuring receiver settings. You’ll save $1,000–3,000 in labor.
Where DIY struggles: Running new electrical circuits to the AV rack (this requires a licensed electrician in most jurisdictions), installing recessed lighting in the ceiling without damaging joists, treating room acoustics properly (it’s a craft requiring ear training), and troubleshooting HDMI handshake issues when four devices argue about resolution.
Honestly, most homeowners benefit from hybrid approaches. Handle demo and layout yourself: hire a licensed electrician for power runs: and either do speaker positioning yourself or get a professional’s input on acoustic treatment. Home service provider reviews on Angi can help you vet local contractors who specialize in home theater, though many electricians and handymen in the Kansas City area now offer basic AV installation.
One hard truth: acoustic treatment and room calibration separate amateur setups from genuinely impressive ones. If you’re serious, budget for expert guidance or DIY education, free YouTube tutorials are helpful, but taking an online acoustics course ($100–300) is money well spent.
Finding Quality Installation Services in Kansas City
Kansas City has a robust home services market. Start by checking HomeAdvisor’s contractor matching service, which lets you compare local installers, read reviews, and request quotes. Filter for AV specialists or licensed electricians with home theater experience.
When vetting installers, ask these questions:
- Do they provide a 3D room layout before starting? Professionals plan on paper.
- Will they pull permits if electrical work is involved? Required in Kansas City.
- Do they offer system calibration after installation, or just plug-and-play setup?
- What warranty do they offer on labor and equipment?
Costs vary widely. A simple TV mount and receiver setup might run $500–1,500 in labor. A full basement conversion with acoustic treatment, conduit runs, electrical upgrades, and calibration easily hits $5,000–15,000+ depending on scale and finishes. Renovation cost guides on ImproveNet break down typical Kansas City pricing for similar projects, though home theater costs are less standardized than kitchen remodels.
Don’t assume the cheapest quote is the best deal. Ask for references, confirm they use quality interconnects and proper cable management, and verify they’re licensed and insured. A $2,000 installation that does the job right beats a $1,000 hack job you’ll regret in six months.
Conclusion
Building a home theater in Kansas City is achievable whether you go full DIY, hire a pro, or split the work. Start with clear goals: what’s your budget, what room can you use, and what level of quality do you want? Then methodically work through equipment selection, room preparation, and installation. Done right, you’ll have a space that delivers genuine entertainment value and becomes one of the best investments you make in your home.