Setting up a home theater doesn’t require hiring an installer or dropping five figures overnight. With thoughtful planning and the right gear, most homeowners can build a cinematic experience in their spare bedroom, basement, or living room. This guide walks you through choosing equipment, laying out your space, running wiring, and tuning sound and picture quality, all with an eye toward your budget and skill level. Whether you’re working in a dedicated room or adapting an existing space, these practical steps will help you avoid common mistakes and get the most from your investment.
Table of Contents
ToggleKey Takeaways
- A solid home theater install is achievable for under $2,000 with a 5.1 speaker system, quality AV receiver, and proper room planning without professional installation.
- Proper speaker placement—center channel at ear level, fronts at 30 degrees off-center, and surrounds mounted high on side walls—is critical for seamless surround sound.
- Your room choice (basement or spare bedroom) and acoustic treatment (carpet, curtains, absorption panels) matter more than high-end equipment in delivering cinema-quality sound and picture.
- Use HDMI 2.1 cables for 4K content, keep speaker cables separate from power lines by at least 2 feet, and run Ethernet directly to your AV receiver for stable streaming.
- Set video to Cinema or Movie mode (not Vivid), let your receiver’s calibration microphone set baseline audio levels, then fine-tune by ear for dialogue clarity and bass control.
Essential Equipment You’ll Need
Start with the core components: a projector or TV, an AV receiver, speakers, and cable. Skip the marketing hype and focus on what actually drives picture and sound quality.
For display, a projector is the traditional choice if you’re building in a dedicated, darkened room, it delivers a large image (100-150 inches diagonal is practical) without the expense of an equally sized TV. A high-brightness projector (2,500 lumens or more) works in rooms with some ambient light. Budget options start around $400: mid-range projectors ($1,000–$3,000) offer better contrast and color accuracy. If you prefer a TV, a 65-inch or larger 4K panel is standard: smaller displays feel cramped for theater watching.
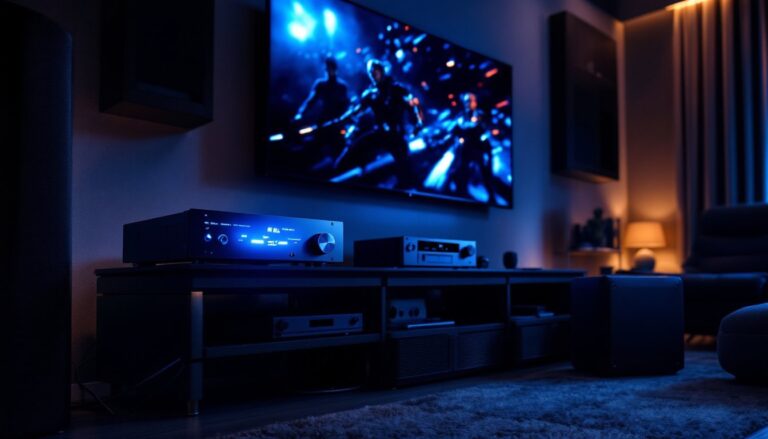
Your AV receiver is the hub. It decodes surround sound formats, amplifies speaker signals, and routes video from multiple sources. A modern receiver with Dolby Atmos support (a height-channel surround format) costs $400–$1,200 depending on power and features.
Audio Components and Speaker Placement
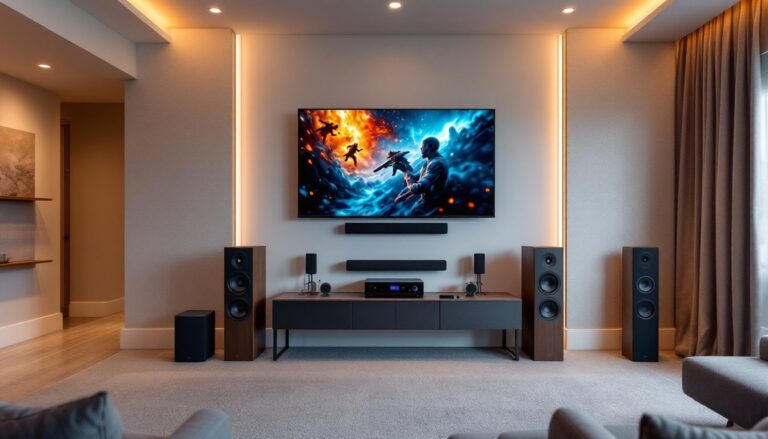
Sound is where home theater comes alive. A basic 5.1 system includes a center channel (dialogue), left and right fronts (music, effects), two surrounds (ambient sound), and a subwoofer (low-frequency punch). Each speaker needs proper placement to lock in seamless surround effects.
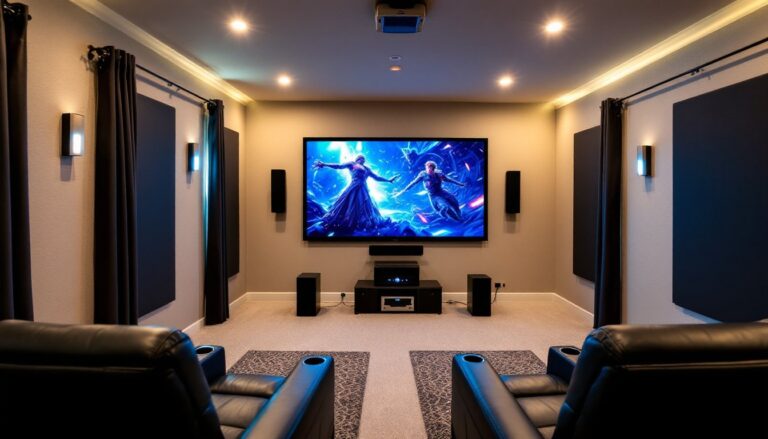
Place the center channel level with or slightly above your ear height when seated, ideally 1–2 feet above the screen. Left and right fronts sit 30 degrees off-center from your listening area, not at 45 degrees, which causes timing issues. Surrounds mount 1–2 feet above ear level on the side or rear walls. A subwoofer is placed where it sounds smoothest in the room: corner placement often boosts bass, while mid-wall placement stays cleaner but requires a larger sub. Good sub placement usually means experimenting, play a test tone and move it around your room to find the sweet spot.
Speaker cables should be 12 or 14 AWG (wire gauge) for runs under 50 feet. Run them in conduit or behind walls only if they’re rated in-wall (CL3 or higher). Avoid bundling speaker cable with power cables, which causes hum.
Planning Your Room Layout
The room itself is your most important component. Sound bounces off every wall: light leaks ruin projected images. Pick the right space and your setup works half as hard.
Choosing the Right Room and Sizing
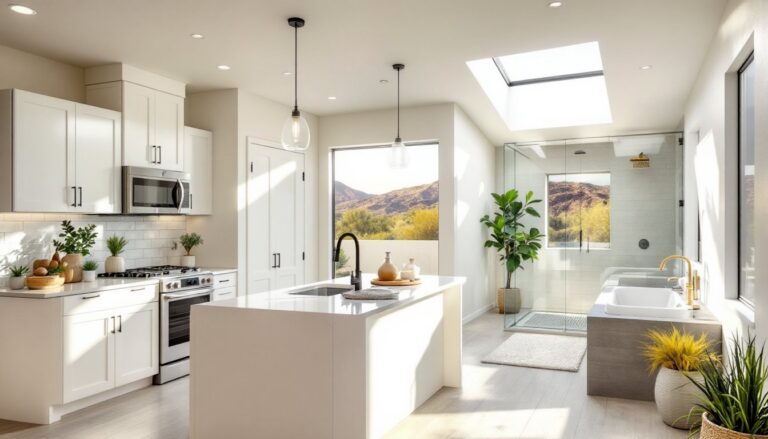
A dedicated home theater room is ideal, but not required. Basements work well, they’re isolated and naturally dark. Spare bedrooms are fine if you can control windows. Living rooms demand compromise: you’ll need blackout shades, and family traffic is part of the deal. Avoid kitchens (too reflective) and hard-floored rooms (sound gets harsh).
Size matters. A room 12 feet wide × 15 feet deep × 8 feet tall is workable: smaller and you’re cramped, larger and sound diffuses too much. Measure your viewing distance. Viewers should sit 1.5 to 2.5 times the screen height away. If your screen is 72 inches tall, ideal seating is 9–15 feet back. This distance affects both projector throw ratio (if using a projector) and surround speaker positioning.
Before you run wire or install anything, list what you’ll connect: streaming boxes, cable/satellite tuners, gaming consoles, Blu-ray players. Plan cable routes, walls, conduit, raceways, to avoid visible clutter and interference. If you’re running cable through existing walls, check for electrical wiring and plumbing first. Running new circuits for dedicated power may be wise if your current outlet is shared with other equipment: hire a licensed electrician if you’re unsure.
Wiring and Technical Setup
Proper wiring prevents humming, signal loss, and frustration. Use quality cables, not the cheapest option, but not exotic either. HDMI 2.1 cables handle 4K at 60 Hz and higher frame rates: standard HDMI works for older content but limits future upgrades.
Run speaker cables in separate conduit from power lines if possible. A distance of at least 2 feet between speaker and power cable reduces hum. Use a power conditioner (a sophisticated power strip with filtering) to stabilize voltage and suppress noise from other appliances on your circuit.
If your receiver doesn’t have enough HDMI inputs, an HDMI switcher adds capacity, though it adds a layer of complexity. Keep a detailed diagram of your setup, which input is which source, which remote controls what, or you’ll be puzzled three months from now.
Calibration tools matter more than you think. A smartphone SPL (sound pressure level) meter app, combined with your receiver’s microphone calibration system (most modern receivers include it), sets levels automatically. For video, a professional color reference tool like a colorimeter fine-tunes picture settings and is worth borrowing or renting rather than buying outright. Many AV specialists offer calibration services if you want expert tuning.
Network connections are critical for streaming. Run Ethernet to your AV receiver if possible, it’s more stable than WiFi. If WiFi is your only option, place the receiver and streaming device close to your router to minimize dropouts.
Optimizing Picture and Sound Quality
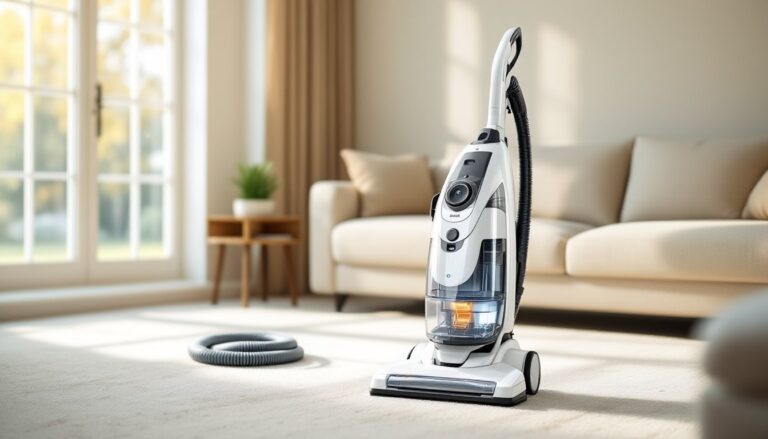
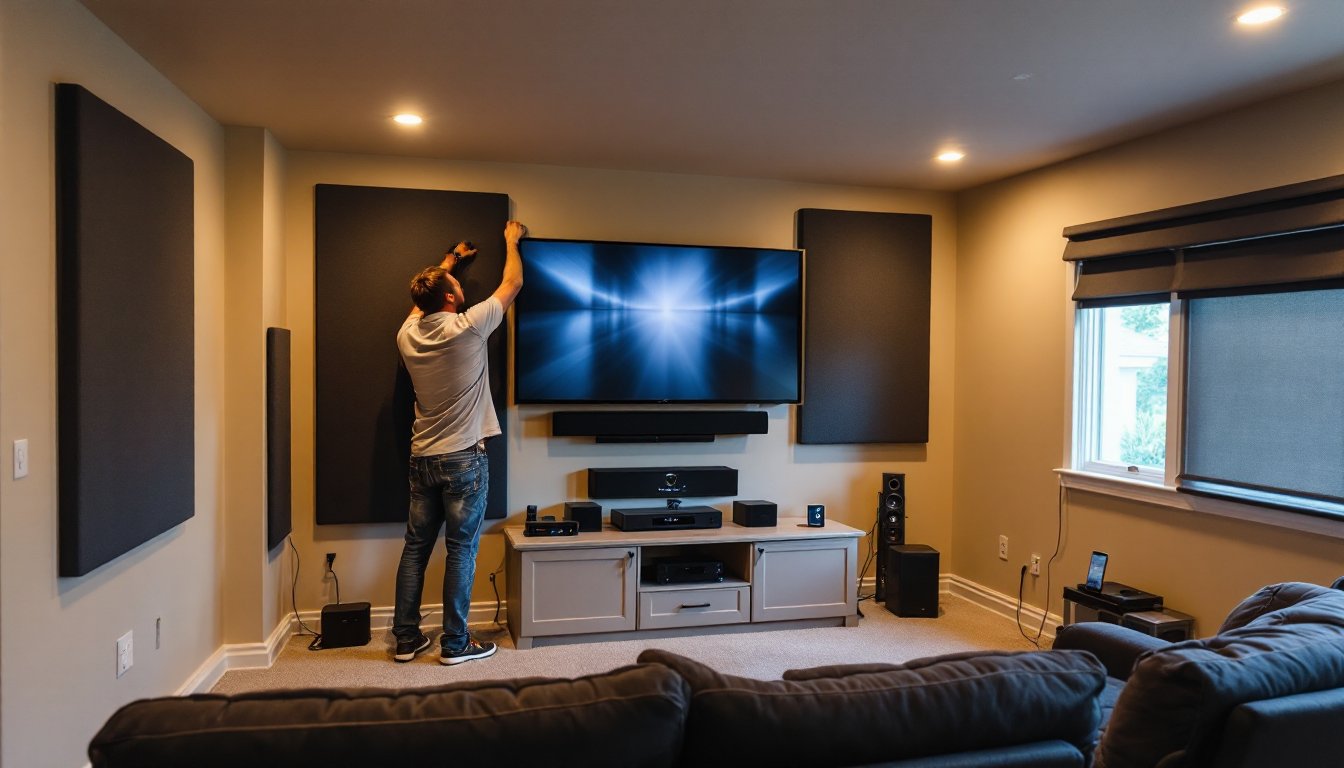
Once equipment is mounted and wired, tuning the room pays dividends. Absorb excessive reflections with acoustic panels, bass traps, or soft furnishings, carpet, curtains, and upholstered seating help. A hard-walled, empty room sounds like a gymnasium: soft materials tame that. You don’t need a full commercial sound-treatment rig: strategically placed panels behind the main seating area and in corners work well.
For video, set your projector or TV’s picture mode to Cinema or Movie (not Vivid or Dynamic). Those modes oversaturate color and boost brightness, which looks impressive in a showroom but creates eye strain and inaccurate color grading. Use lens shift or throw distance calculations to center your image, and ensure the screen isn’t tilted.
For sound, let your receiver’s calibration microphone set baseline levels, then make minor tweaks by ear. If dialogue is muddy, raise the center channel by 1–2 dB. If surrounds are distracting, lower them slightly. Bass should feel present, not painful: if you’re bottoming out your sub, back it down and reduce the receiver’s subwoofer crossover frequency to 80 Hz (standard for most setups).
Test your setup with content you know well. A favorite movie shows color gradation, surround placement, and dialogue clarity. Home improvement cost guides and planning resources help you scope the full project, while home technology reviews offer equipment recommendations for your budget tier. Spend time here before upgrading, a properly tuned mid-range system outperforms a neglected high-end rig every time.
Budget-Friendly Installation Tips
You don’t need to spend $10,000 to enjoy home theater. A solid 5.1 system for under $2,000 ($400 receiver, $800 speakers, $400 sub, $200 cables and mounts) delivers real cinema sound. A used 1080p projector can outperform a new cheap TV. Buy second-hand from reputable sellers for savings: always test before committing.
Skip cable boxes and use streaming services bundled with your TV or projector. Reduce equipment and simplify your setup. A good gaming console (PlayStation 5 or Xbox Series X) doubles as a 4K Blu-ray player.
Don’t cheap out on speaker placement or acoustic treatment. A $300 subwoofer in a corner without bass traps will disappoint. Spend time measuring distances, angles, and sound levels correctly. That’s free and moves the needle more than a second grand in gear.
Install your own cables and mounts if you’re handy: hire a pro if running walls or risking electrical hazards. Know the limit of your comfort, it saves money and headaches.