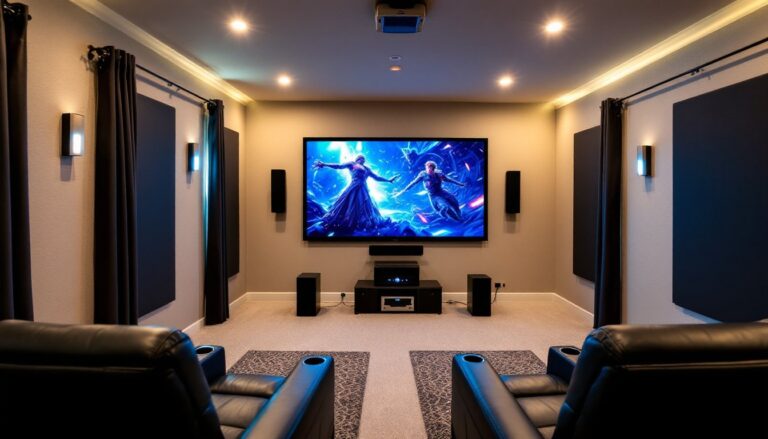
A home theater riser platform transforms how you watch movies and shows, quite literally. By elevating a back row of seating, it gives everyone an unobstructed view of the screen, prevents neck craning, and makes your viewing experience feel less like staring at a wall and more like sitting in an actual cinema. Whether you’re retrofitting an existing entertainment space or planning a dedicated room from scratch, a home theater riser platform solves a common problem: the person in the second row can’t see over the heads of those in front. This guide walks you through what a riser platform is, why it matters, how to build one affordably, and what to watch out for during installation.
Table of Contents
ToggleKey Takeaways
- A home theater riser platform, typically 12–18 inches high, eliminates sightline obstruction and improves viewer comfort by elevating the back row of seating without neck strain.
- Riser platform height should position back-row viewers’ eyes 1.5–2 feet above front-row eye level, calculated based on your screen size and viewing distance for optimal sightlines.
- Budget-friendly DIY construction costs $300–$600 in materials for a 12×10-foot platform using dimensional lumber, plywood, and carpet tiles, making it an affordable upgrade for most homeowners.
- Always anchor your home theater riser platform securely to the floor with concrete anchors or lag bolts to prevent shifting under load, and install beveled edge nosing for safety.
- Check local building codes before installation—platforms over 18 inches or certain weight thresholds may require handrails and must meet residential load-bearing standards.
- Regular maintenance includes checking fastener tightness annually and vacuuming carpet to prevent creaks caused by vibration and thermal movement.
What Is a Home Theater Riser Platform?
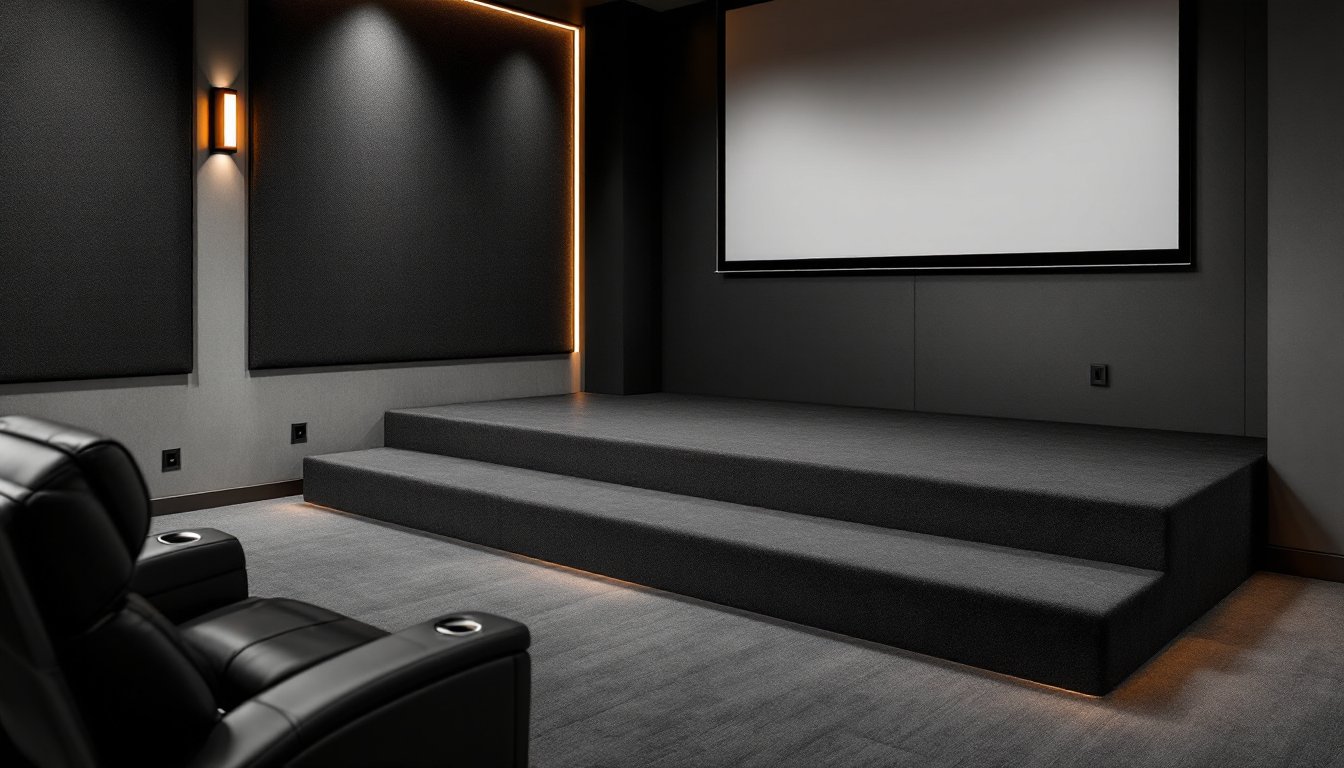
A home theater riser platform is a raised floor structure, typically 12 to 18 inches high, that elevates the back row (or rows) of seating above the main theater floor. Think of it as a small stadium tier built inside your room. The platform sits on a sturdy frame of wood or metal joists, topped with plywood subflooring, and finished with carpet, vinyl, or other flooring materials that match your theater design.
The key difference from just placing risers under individual seats: a platform is a permanent, integrated structure that distributes weight evenly across its entire surface and provides a safe, stable walking area for guests. It’s built into the room’s layout, not something you improvise with plywood scraps.
Most home theater risers are 12 to 16 inches in height, enough to clear sightlines without making the back-row seating feel like a separate tier. Some enthusiasts go higher (18+ inches) if the room is very large or if the screen is exceptionally high. The width usually spans the full width of the room (or the seating area), and the depth runs about 8 to 12 feet depending on how many rows of chairs you want to accommodate.
Why You Need a Riser Platform for Your Home Theater
The primary reason is sightlines. In a rectangular room without a riser, the back row of viewers sits at roughly the same height as the back of the front-row seating. Their view of the screen is blocked or severely compromised. A properly designed riser elevates them enough so that each row has a clear line to the center of the screen, no heads in the way.
A riser also improves ergonomics. Viewers aren’t craning their necks or slouching to compensate for obstruction. They sit upright and relaxed, which means longer, more comfortable viewing sessions. And there’s a practical bonus: a riser can hide cables, wiring, and speaker components underneath, keeping your theater space neat and professional-looking.
Another often-overlooked benefit is the psychological impact. A dedicated riser creates a sense of separation between seating zones, which can actually improve room acoustics if you’ve added carpet and padding. It also signals that the space is intentional and well-thought-out, not an afterthought corner of the basement.
Choosing the Right Size and Height for Your Space
Height calculation starts with your screen size and viewing distance. For a 100-inch screen viewed from 12 feet away, a 14-inch riser often works well. For larger screens or longer sightlines, bump it to 16 or 18 inches.
Measure from the floor to the average eye height of a seated viewer in your front row. Ideally, the riser should position back-row viewers’ eyes about 1.5 to 2 feet above front-row eye level. Use a smartphone or laser measure to check sightlines before committing to a final height.
Width and depth depend on room layout and seating capacity. If you have 4-5 theater recliners in the front row and want 2-3 in the back, the riser needs to be at least 4-5 feet deep and span the width of your seating area. Always add 6-12 inches of safety buffer on all sides: edges are tripping hazards.
Materials and Construction Options
A riser platform needs a strong frame. The most common approach uses dimensional lumber: 2×10 or 2×12 joists (actual width about 9.25 or 11.25 inches) spaced 16 inches on center, resting on a perimeter beam of 2×12 lumber. For a platform spanning more than 10 feet, intermediate support beams running parallel to the joists prevent sagging.
Nominal vs. actual dimensions matter here. A 2×10 is really 1.5 inches thick and 9.25 inches tall: it’s not 2×10 in the way the name sounds. This affects your riser height calculation.
Subflooring goes on top of the joists: 3/4-inch plywood (exterior grade is better for moisture resistance, though interior is fine in most home theater spaces) provides a solid, flat surface. It’s glued and fastened to joists with flooring nails or screws.
Finishing material depends on your aesthetic and budget. Carpet tiles are popular, they dampen sound, hide imperfections, and are easy to replace if damaged. Vinyl sheet flooring or luxury vinyl plank (LVP) offers durability and a finished look. Some builders use underlayment (a thin foam or cork layer) under carpet or vinyl to absorb sound and improve comfort underfoot.
Alternatively, metal platform kits sold by some theater suppliers offer modular assembly: precut frames, panels, and connections that bolt together. They’re easier if you’re uncomfortable with framing lumber, but more expensive upfront. Check weight ratings carefully, a reclining theater chair loaded with an occupant can weigh 400+ pounds. Your platform must handle that distributed across its surface safely.
Budget-Friendly DIY Approaches for Homeowners
If cost is a concern, the most affordable approach is building from scratch with dimensional lumber. A 12-foot-wide by 10-foot-deep platform using 2×10 joists, plywood, and basic fasteners runs roughly $300–$600 for materials (prices vary by region and lumber market), plus finishing materials like carpet.
Here’s the order of operations: Build the perimeter frame of 2×12s (bolted or lag-screwed to the floor with concrete anchors if the room has a concrete subfloor), add intermediate joists running perpendicular to the perimeter at 16-inch spacing, cover with plywood, then apply underlayment and carpet or vinyl.
Don’t skip the anchoring step. A loaded platform can weigh several thousand pounds: it must be tied to the floor so it doesn’t shift if someone jumps or moves weight around on it. In a wood-frame house, you can lag-bolt into rim joists. On concrete, use concrete anchors and set bolts into drilled holes, then apply epoxy per the anchor manufacturer’s instructions.
A more budget-conscious shortcut: instead of full joists, use doubled-up 2×6s or 2×8s if your span is shorter. This saves lumber cost but requires closer spacing or additional support. Calculate load capacity before choosing this route, an engineer or the joists’ load-bearing tables (available online) can confirm if your layout works.
Carpet tiles are cheaper than broadloom and easier to install. Luxury vinyl plank is affordable and durable. Both hide minor framing imperfections and add thermal comfort underfoot.
Installation, Safety, and Maintenance Essentials
Before you cut a single board, check your local building code. Most jurisdictions require any permanent raised structure over a certain height or weight to meet load-bearing standards. Some areas mandate that platforms higher than 18 inches need handrails on exposed edges, a safety code consideration. Don’t guess: contact your local building department or check the IRC (International Residential Code) for your region.
When building, use a 4-foot level to ensure the platform surface is flat, uneven flooring is a tripping hazard and can create creaks or gaps that annoy viewers during quiet scenes. Fasten joists securely: any movement indicates loose connections.
Edges are critical. Install a nosing (a beveled or rounded edge trim) on the front and exposed sides. This isn’t just cosmetic: it prevents tripping and meets safety standards. Toe-kick the perimeter (a recessed base around the bottom) so people don’t stub their toes.
Cable management runs underneath or inside hollow spaces. Drill holes through joists for speaker runs and power cables, but keep these organized and labeled so future access is straightforward.
For step-by-step framing, This Old House offers detailed home renovation tutorials on platform construction that align with residential building codes.
Maintenance is minimal once installed. Check annually that fasteners haven’t loosened (vibration from bass and thermal cycling can cause movement). Vacuum carpet tiles regularly. Vinyl flooring just needs mild soap and water. If you notice creaks, it’s usually a sign that a bolt has worked loose, tighten it.
Accessibility matters too. Make sure the riser height and step-up don’t create obstacles for elderly guests or those with mobility challenges. A small handrail on one side, if your layout allows, is worth the effort.
Top-tier home theater setups often combine a riser with acoustically optimized seating. Reviews of the best home theater seating often highlight platforms as part of the complete experience, showing how riser platforms and premium seating work together. Similarly, home theater seating comparisons frequently mention elevated platforms as key to comfort and sightlines.
Conclusion
A home theater riser platform is a practical, worthwhile upgrade that pays dividends every time you watch something in that room. The key is honest planning: measure twice, build sturdy, don’t skip the anchor fasteners, and respect local codes. Whether you go DIY lumber and plywood or buy a kit, the end result, unobstructed views and a genuinely comfortable theater experience, makes the effort worthwhile. Start simple, build to code, and enjoy your elevated viewing setup for years to come.